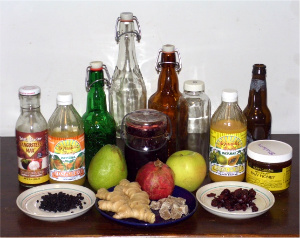
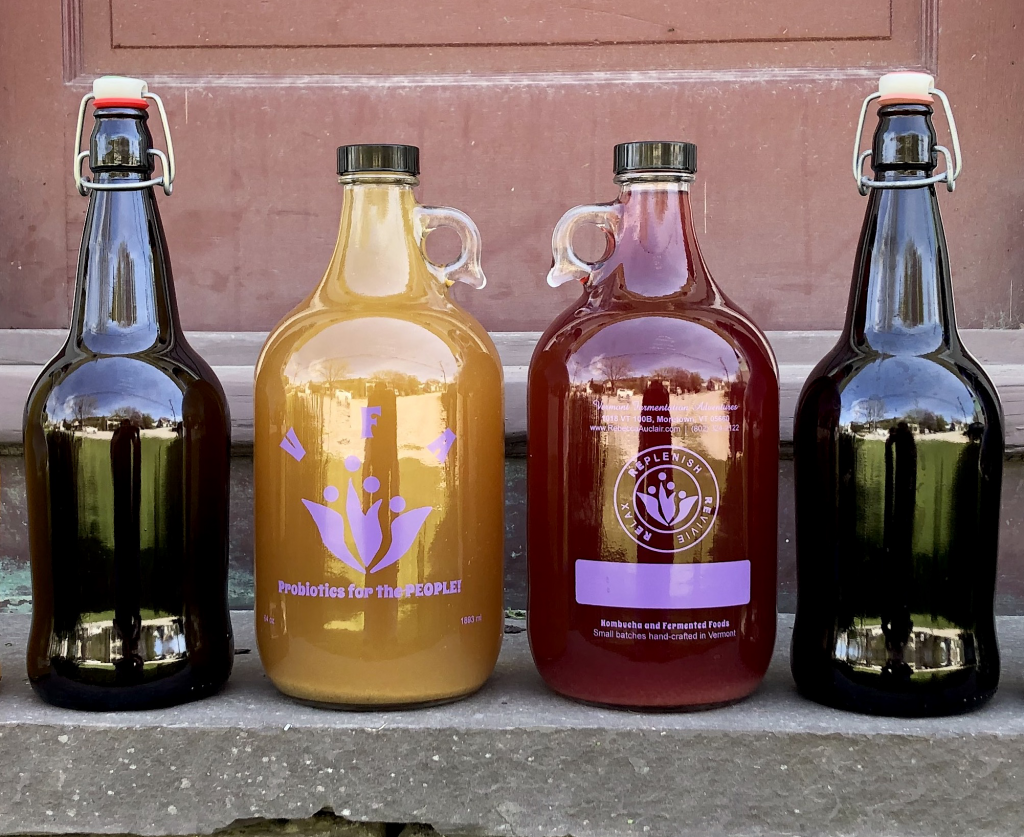
GTS and swing-top bottles with an array of flavoring agents for kombucha
Drinking kombucha, I feel every cell in my body celebrating the nutrients and microbes it contains. As much as I enjoy it, I struggled to transform my home brewed kombucha from “drinkable” to delicious. The first stage of kombucha making is relatively simple, but flavoring and bottling the brew is a bit more complicated. It can be a messy and frustrating process, yet I feel the results of skillfully bottled kombucha are wonderful and make the effort worthwhile. Once you have some bottles, a tasty batch of kombucha in a crock and some flavoring ingredients, dive into this article and learn a little about bottling and secondary fermentation for home brewed kombucha. I hope it will help you to develop your own techniques and delicious recipes.
Ingredients:
- Crystallized ginger, minced.
- Flavoring ingredients (optional): concentrated, unsweetened fruit juices, 100% fruit puree, minced cinnamon basil, lemon or orange zest, minced fresh ginger, minced dried and/or fresh fruit, jam, honey, maple syrup, etc.
Notes about ingredients:
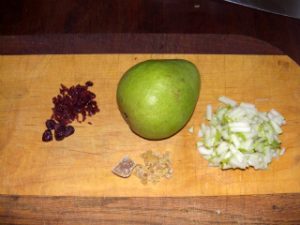
Cut up dried cranberries, crystallized ginger and fresh pear for flavoring kombucha in the bottle
I use a tiny amount of crystallized ginger in all my kombucha bottles in order to prime them. Priming refers to the addition of a small amount of sugar to the bottle in order to feed the yeast that is in the home brew solution. The yeast digests the sugar and forms carbon dioxide (CO2) as a by-product. The CO2 becomes trapped in the capped bottle and contributes to effervescence over time.
I continually experiment with flavoring. My recent favorite is papaya puree. I have tried using many different dried and fresh fruits, cinnamon basil, jams, juices, mangosteen concoctions, honey and maple syrup as well. When I am trying a new flavoring ingredient, I add a small amount the first time and then increase its volume in subsequent batches until my kombucha is just right.
Equipment:
- Bottles with tight fitting caps
- Funnel
- Ladle
- Rags or sponges to clean up inevitable drips, spills and overflows
Notes about equipment:
The most important piece of equipment in this process are the bottles. I have tried a few different kinds: swing-top/Grolsch type bottles, Pellegrino glass bottles with metal tops, GTS Kombucha bottles with plastic caps, plastic liter seltzer bottles with plastic tops. I prefer glass over plastic in all my fermentation projects, and I have had fine results with plastic bottles. My current bottles-of-choice are swing-top bottles, and sometimes you can get lucky and get them for FREE from recycling centers or bars/restaurants. They are easy to open and close. GTS bottles work well, and they need extra cranking to close after you initially fill them. Then, I need vise grips to open them after the CO2 builds pressure in the bottle and the secondary fermentation is complete.
Use a non-metal ladle and funnel if possible. Some metals seem to be harmful to the yeast in solution.
Method:
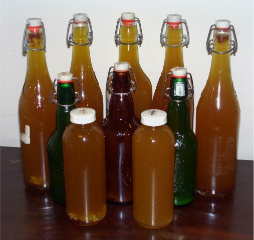
Bottled and flavored kombucha, ready for its secondary fermentation
Put a tiny pinch of crystallized ginger into each bottle. If you want more ginger flavor, add about a teaspoon of finely minced– fresh or crystallized– ginger. Pour or spoon some flavoring into the bottles, if desired. With unsweetened, concentrated flavors, I pour enough into the bottle to cover the its bottom. With jams, herbs, and fruit, I use between one and three Tablespoons, depending on the flavor strength and bottle size. Again, start small, make notes, and build from there.
Remove the kombucha mother from the top of your fermenting vessel and put it in a bowl. Add several ladles full of kombucha on top of the mother and cover this bowl with a cloth.
Stir the newly brewed kombucha with a ladle. Make sure you mix the bottom of the crock with the rest of the brew as yeasts tend to settle on the bottom and bacteria at the top during the primary, or aerobic, fermentation.
Place the funnel into the bottle opening, and ladle the kombucha into your prepared bottles. Fill the bottles all the way to the top. Try not to leave any space between the top of the kombucha and the bottom of the cap. Cap the bottles and then tighten them if necessary; swing top bottles don’t need tightening. Use a capper on (clean) recycled beer bottles and securely crimp the new caps. GTS bottles will need an extra crank with a rubber jar grip to be sure they are tight enough.
Set the filled bottles in a warm place to ferment for approximately a week.
After at least a week has passed, chill the kombucha then open it in or around your sink with a glass at the ready. Drink your brew and make notes about flavor, fizz, acidity and sweetness. Adjust your ingredients in the next brew as needed.
Don’t be discouraged if you have a few “drinkable” batches, too. Your delicious ones are just around the corner!

